Build a gaming PC for $900: parts, steps and first settings
Seven parts, one screwdriver and three hours for a machine that runs new games at 1440p.

You do not need $2,000 to play new games at high settings. With $900 and one free afternoon, you can build a PC that runs almost everything at 1440p and 60 frames per second or more. This guide gives you the parts, the order of the steps and the settings to change when you first turn it on.
We built this exact machine three times in September, with parts we bought in normal shops.
The parts list
Prices change each week. These are what we paid, rounded to the nearest five dollars.
| Part | What we chose | Price |
|---|---|---|
| Processor | Six cores, mid-range, with its cooler | $160 |
| Graphics card | Mid-range, 12 GB of memory | $330 |
| Motherboard | Basic model with Wi-Fi | $110 |
| Memory | 32 GB, two sticks | $75 |
| Storage | 1 TB fast drive | $65 |
| Power supply | 650 watts, gold rated | $80 |
| Case | Mesh front, three fans included | $75 |
| Total | $895 |
We do not name exact models, because a better offer will exist by the time you read this. The rules for choosing are more useful than the names.
Where to spend and where to save
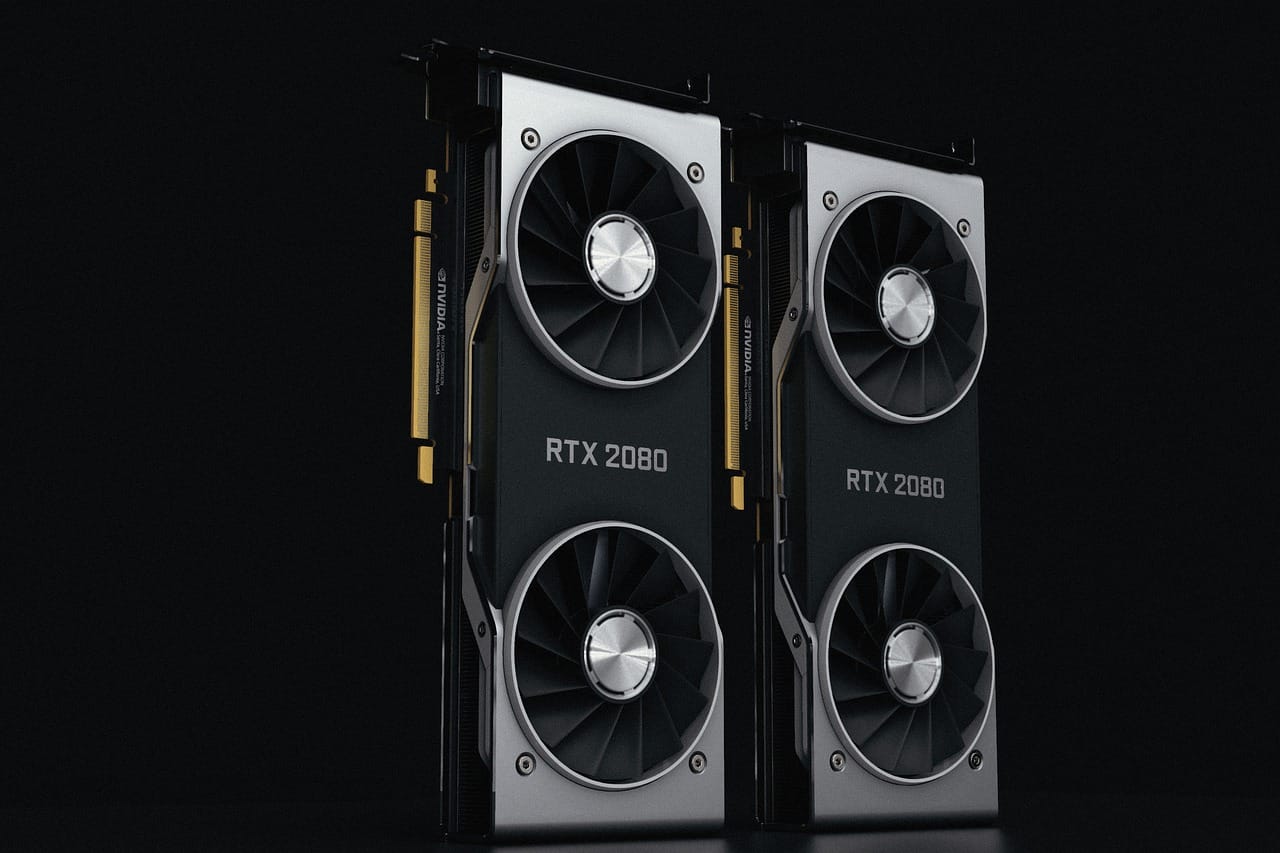
Spend on the graphics card. It is the part that decides your frame rate. Put about 35 to 40 percent of the budget here. Choose a card with at least 12 GB of memory: new games at 1440p already use more than 8 GB.
Spend a little on the power supply. A bad power supply can damage every other part. Buy one from a known brand with a gold rating and a warranty of seven years or more.
Save on the processor. For games, a six-core processor from the middle of the range is within five percent of one that costs twice as much. The cooler in the box is enough.
Save on the motherboard. A basic board runs games exactly as fast as an expensive one. Check only that it has the ports you need.
Save on the case, but not on air. Any case with a mesh front and two or three fans keeps the parts cool. A case with a glass front looks good and runs eight to ten degrees hotter.
The build, in order
Do the steps in this order. It is the order that keeps your hands out of tight corners.
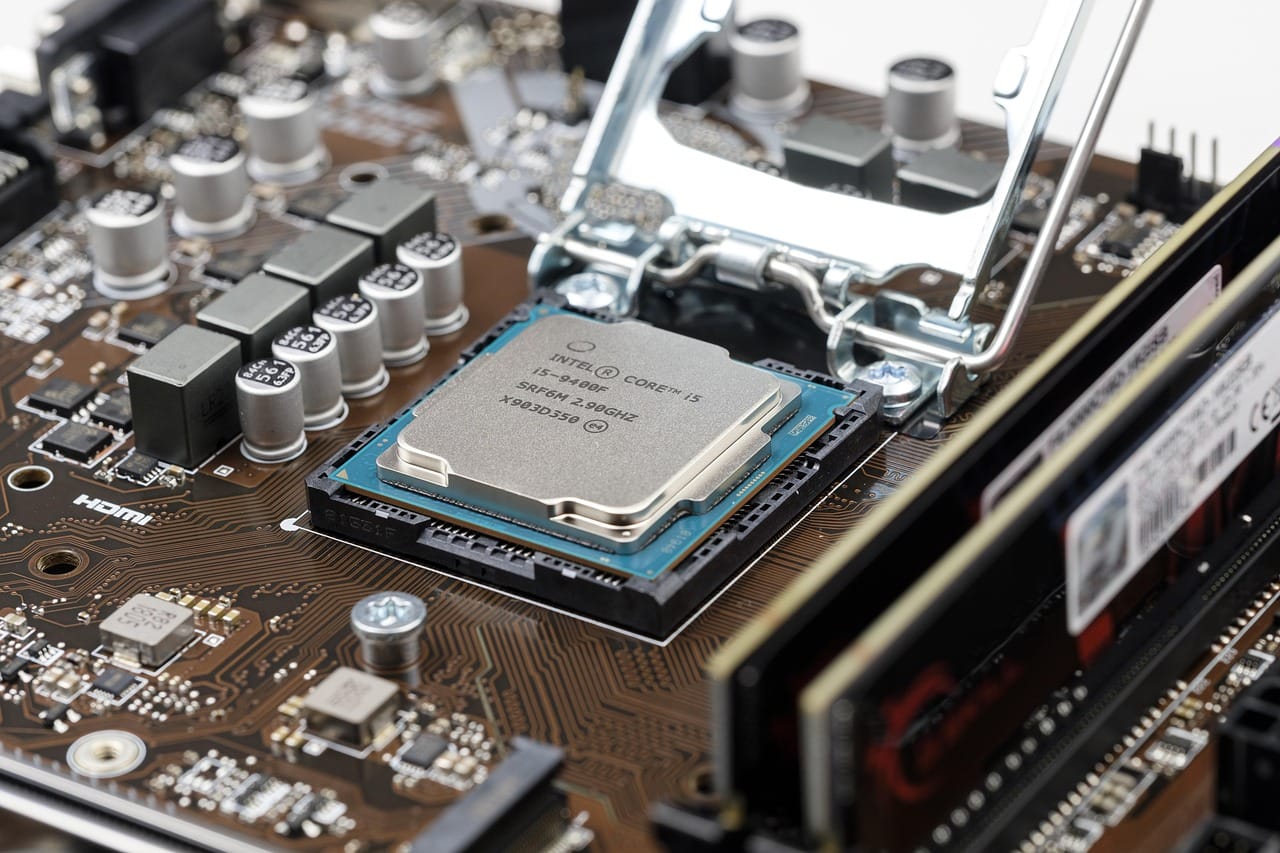
- Prepare the board outside the case. Put the motherboard on its box. Install the processor: lift the lever, match the small triangle, lower it and close the lever. Do not push.
- Add the memory. Use the second and fourth slots from the processor. Press until both ends click.
- Add the storage drive. It slides into the slot at an angle and one small screw holds it down.
- Fit the cooler. The paste is already on it. Tighten the screws in a cross pattern, a little each time.
- Put the power supply in the case and pull the cables through to the front.
- Put the board in the case. Nine screws. Do not tighten any of them fully until all are in.
- Connect the power cables: the large one to the board, the smaller one near the processor.
- Connect the small case cables for the power button and the front ports. The manual of the board has a diagram. This step takes longer than you expect.
- Install the graphics card last. Press it into the top long slot until it clicks, add two screws and connect its power cable.
- Close nothing yet. Connect a monitor to the graphics card, not to the motherboard, and press the button.
The first time you press the button and the fans turn, you will feel like an engineer. You are one now.
Dex Okafor
The first hour
When the machine starts, do these four things before you install a game.
- Turn on the memory profile. Open the settings of the board with the Delete key at start, and turn on the profile named XMP or EXPO. Without it, your memory runs at about 60 percent of its speed.
- Install the system and all updates.
- Install the newest driver for the graphics card from the website of the company that made the chip.
- Set the refresh rate of the monitor. Many monitors start at 60 hertz. Open the display settings and choose the highest number.
What it can do
We tested our build in five games at 1440p.
| Game | Settings | Frames per second |
|---|---|---|
| Neon Drift 2049 | High | 96 |
| Hollow Crown | High | 74 |
| Tarmac Legends 5 | Ultra | 88 |
| Starfall Tactics | Maximum | 140 |
| Ashes of Orion, preview | Medium | 61 |
Under full load, the processor reached 71 degrees and the graphics card reached 68 degrees. Both numbers are safe. The noise was 38 decibels at our seat: you hear it, and headphones cover it.
What to upgrade later
In two or three years, change the graphics card and keep everything else. The power supply and the case in this list have space for a much larger card. That is the real saving of a PC you build: you replace one part, not the machine.